
Tags
The Dialogue Mix
After the last post, lets look into the actual process of dialogue Premixes. One has to understand that the dialogues are the most important part of any film as it imparts information regarding the story and the characters. The delivery shows the character’s qualities and brings out emotions. This is also one of the most difficult part to premix. The reason is that it requires a clear understanding of drama and delivery.
As a mixer, I am not a person who does a lot of fader rides on the dialogue tracks. I know a lot of people will disagree with me here. I don’t say that I don’t, its just that it is less. I have my reasons for this too. Fader rides are good to create dynamics and also improve delivery in some cases. For example, it is easier to stress words to alter the delivery to a limit. But, that is just to a limit. Another reason to do a fader movement is to try and get dialogues through busy sections, but here I would try my maximum with EQ and compression. I tend to take it as a challenge to not push dialogues and get my mix executed.
Now, about me not riding the faders a lot. Usually in a sync sound or an ADR delivery, the actor acts out the line. There is a bit of dynamics in the delivery itself. This intonation and pitch is also modulated to achieve that. Playing the fader to make everything stand out, causes the delivery to lose the emotion sometimes. So, in that sense, yes, I don’t use rides on individual tracks. But, there are cases where I do rides, like what I have mentioned before. The rides also help in making mixes sit well with compression.
Compression, EQ and the process
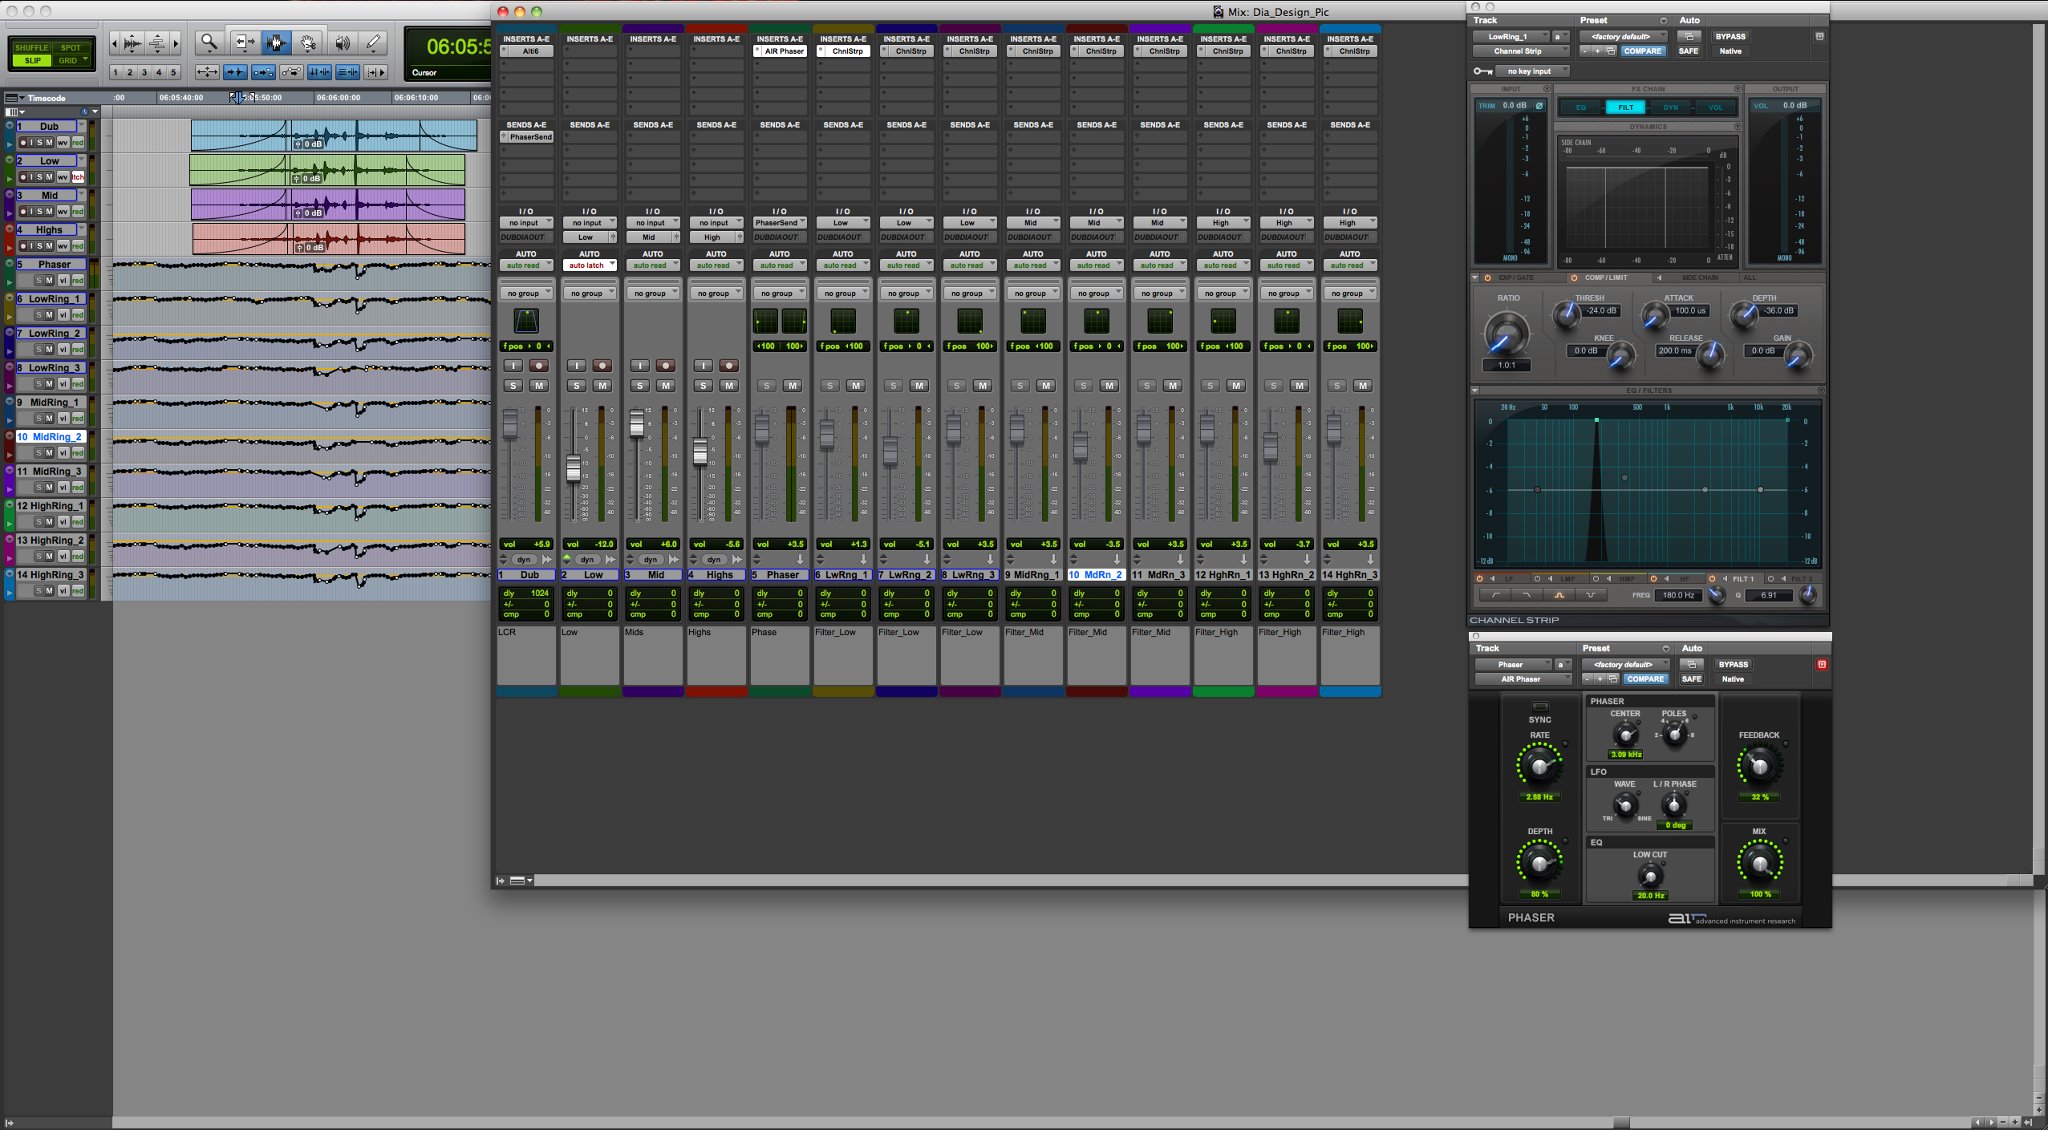
Compressing dialogues is very very different from compressing vocals for a song. The dynamics, delivery, pitch are all different. That being said, my way of doing dialogue premix is not necessarily a norm. But, like all things in sound, this is not a rule and rules in sound are more like guidelines that you can avoid if you have a very strong reason. I always tend to do very little compression and usually reserve most of the compression for Voiceovers. Since Pro Tools 10, I have a small trick with me. I do a basic pass just to get levels let up on the tracks. I then convert the volume automation into clip gain, which can be easily done on the HD version of Pro Tools. What this allows me is 2 things. When I add the compression later and start to set my threshold, I know that the compressor will be hit evenly because the volume automation is now clip gain. Being a clip gain, the volume hits the plugin before the fader does. This gives me even toned tracks and I don’t need to do a lot of compression. The second advantage is that the clip gain stays with the clip no matter how you edit or trim the clip. If you trim a clip with volume automation and then try to open it, you will lose the volume automation, not the case with Clip gain.
Once done, I would add eq to the tracks only when needed. So I literally build up my session as I go on. One thing I do have in mind is a tonality. This took many years for me to achieve and I still don’t claim to be experienced in that as there are many times i go back and correct a lot in terms of the overall eq. I have a policy in dialogues. I roll off frequencies at 8kHz and above at 3dB per octave and below 80Hz at 3-6 dB per Octave. The reason is that in the real world, we don’t have a lot of frequencies that happen in that range, but while recording, the mics do have a tendency of boosts in those regions. One another thing is also a misconception of the X-Curve in a cinema theatre. I have heard a lot of people trying to compensate for X-Curve. It is important to understand that X-Curve is not an eq. It is an SMPTE standard to tune a room to achieve FLAT response. It is not meant to dull sounds. That being said, there is no reason to boost frequencies above 8kHz as we don’t really have a lot of words except sibilance in that range.
Eqing after this shelf gives a better response. Also, I don’t make this eq on the master channel. It is rather on individual tracks. The reason is that I may not want some tracks to be cut as if its a sync sound film, the ambience may have a good tone to it giving the warmth. I sometimes use a bit of harmonic processors. So for example, if on a Production track, i have used C4. And by using this, if I feel that the brightness is a bit less, I would run an aural exciter on it.
Another trick I do is run the exciter after cutting off high frequencies. The reason is because of the way the exciter works. The exciter works by generating harmonic frequencies that are not present within the original signal. If I run the exciter on a regular track, there is a good chance that the noise in the higher spectrum is boosted instead. So, I cut at around 7K rather sharply and then generate the missing frequency using the exciter. The advantage is that the harmonic content is built from the dialogue that is present rather than taking the noise in the track. The same is the case for the lower frequency. I have also used the 120A from dbx to generate the lower harmonics on the voice. A very good example for this is Shahid’s voice over in the film Kaminey. That also had some rather hard compression similar to parallel compression added to the main signal.
Reverbs
Personally, I am not a fan of surround reverbs for dialogues and foley. This is because I prefer the reverbs to be contained on the stage, rather than be spread around. Also, to spread the reverbs, I prefer to pan them rather than use the surround version of the reverb. (I also end up saving DSP in this case.) I have a peculiar way of having reverbs. In Pro Tools, it is possible to make all the sends default to 0 rather than -infinity. So, this means when I create a send on a track for reverb, the send level is 0. I usually have 2-3 Auxes of reverbs, All these auxes are turned down to -infinity and opened only when needed. The advantage is this method is that for every scene that needs reverbs, I don’t end up opening each send, but just open the aux fader to the level I want. Any perspective can then be adjusted individually, but that usually isnt needed so much. Another reason behind this is when you send signals to the reverb plugin, it is always good to send a good signal level. Otherwise, there is a good chance that the reverb generates more noise than actual reverb itself. Considering gain structure, it is always a good practise to reduce from what you have rather than boost a weak signal.
I use a lot of mono reverbs. From experience, I can say that only mono reverbs can help match an ADR to production dialogue. It is logical. Production dialogue is always treated as mono. When there is a patch dub, trying to match that with a spread out reverb will never work. So, I use a mono reverb send to match ADR to Production dialogue. I then have a secondary send for the overall reverb. So for example if the conversation is in a large hall, I use a mono reverb to match the ADR to production and then have a common Hall reverb in a little spread on both the Production and the ADR to create a depth. It is important to understand that having a mono reverb will bring depth in sound into the screen and a spread reverb will bring width away from screen towards audience. In fact if you think about it, the only way to create a depth INTO the screen is using a mono reverb and to surround the audience using a spread reverb.
There has been a lot of push in the west towards Impulse response (IR) reverbs. I do have a personal collection myself. It is important to understand this and I feel that it is a really good way to create realistic reverbs. More over, if the IR is taken at the location, then matching ADR becomes a bit more easy. Plugins like Altiverb, TL Space, Waves IR etc are really good. My personal preference is Altiverb. This is something that should be really looked into in our scenario. It isn’t difficult and requires just a bit of cataloging. Once done, it is a really good collection to have.
Getting the right reverbs is an art and over time you tend to find out a few favourite presets. In fact for me, one of the best sounding slapback is the one found in Revibe. It is extremely realistic and when used in the right way, it sounds amazingly real. I do add a tad of reverb even in exterior scenes. The reason is that real spaces do have a reflection. But then it should be just enough to be felt and not heard through the ambience. I dont let an exterior slapback go unnoticed. But then, thats what I love about the real space.
Panning
There are two thoughts to this. Some like to Pan, some don’t. I personally like to pan if the scene demands it. This may sound a bit strange, as logically one may think that pans are supposed to be consistent and if dialogues are panned in the beginning reel, that process needs to be continued. I don’t think so. Look at it this way. At the end of the day, we have to deliver an experience in terms of storytelling. I may do pans if it highlights a certain chaos, (its easier to balance) or if its a wide enough scene. I don’t Pan if the scene is particularly emotional and of greater drama importance. This is something that can come out only by doing it over and over. After a point, you can see where the pans work and where it doesn’t. That comes only via experience. But there are no hard and fast rules. I don’t pan the production dialogues if I don’t have a fill. Also, if the production dialogue has noise in it, I don’t pan because I don’t want to draw attention to a pan by the noise jump.
One important factor to keep in mind when handling production dialogue pans is that many times, the foley may be panned while premixing. The production dialogue may be kept in the centre channel because of noise or whatever. So if a character walks from the left to the centre and the foley is panned while the dialogue is kept centre, it may turn out a bit odd as the production may carry shuffle and footsteps on it that stay in centre and the foley sounds may pan.
I am in favour of panning dialogues if the scene demands as nowadays, there is a huge format push towards multichannel sounds like Dolby Atmos and Auro 3D. This creates a better immersive experience rather than having a single channel dialogue throughout.
Pitch
This is a secret I had for many years now. On first glance, this seems to be a rather strange thing to have while dealing with dialogues. But the truth is, manipulating pitch on the dialogues is extremely helpful when dealing with music rides. It may not seem apparent right? The truth is if the dialogue is way off the scale of the music, then riding music against the dialogue becomes difficult, as it seems like clashes especially with string and pad based chords and changes. I wont change more than 1 semitone and a few cents up or down. This also helps in intimate dialogues by pitching it down. Even more, to match the ADR to the Production, pitching is of great help. I use the elastic pitch in Pro Tools to achieve this without having to render the track. The idea is also to have the flexibility of this till the end of the mix. It should be important to note that the the change in pitch should not be drastic. This is just a way to ride music without too many dips and also making it sit within the mix.
Design
All design must happen after this. It is because it is very easy to be carried away by the design part of things and not having a good initial balance. So, once the initial balance is done, it is also easy to know and conceptualise what works in terms of design and what needs just balance. A good example is this scene below from Agneepath. The whole sequence was extremely noisy and had a lot of gaps in the dialogue. Adding reminder voices in a hazy washed out way to fill the gaps and then thunder to cover was actually a clever way to mask the noise but get a drama out of the scene without music rides.
This is the overall method and things I look out for when I do a dialogue premix. It is important to understand the reason behind all this so that improvements and additions can be done as developments from this basis rather than trying to reinvent the wheel. Also having a discipline in dialogue premix is very important as that lays the foundation for a film mix. There is a lot to be written about dialog conforming, working with field recorders in Pro Tools etc. that I may cover in a later post if needed.
FM

Pingback: Dialogue Mixing – Part 1 | Film Mixing and Sound design
Thanks for these very helpful tips! May I ask how you achieve the 3db/oct roll-off? My eqs only offer a minimum of 6db/oct.
Hi Ludwig. Thanks for the comments. Wavearts has one such plugin if I am not mistaken. Usually the roll of is stuck to 6dB/oct. The 3dB is almost always a shelf that I use.
Pingback: Bombay Velvet – Dialogue Mix | Film Mixing and Sound design
Fantastic article thank you for sharing your knowledge, great pro tips for us students
Glad it’s useful! 😊
Thanx for the information, this was very helpfull! You’re talking about using monoverbs to match the prod dialogue. How do you feel about using a monoreverb for a dubbed movie, adding more of a natural feel to the recordings? would you use a shorter verb as mono in a bigger room (church or something).
Cheers
Hans
I do that quite often actually. The idea for this is to hook the dialog to the screen and to get the depth of character from the screen really. 😊
Hi.
It was really helpful. I am a great fan of Altiverb too. There’s a doubt I had in mind since a long time now. How do you suggest inserting Altiverb (or alike plugins); in each dialogue track separately and automating it or sending each track to an aux track ?
I prefer an Aux track purely because it makes sense and saves processing 🙂
Thanks… That was so helpful. It’s a great work you’re doing with this blog.
Thank you very much.
I spent some time in working through your material and found the hands-on advice quite useful.
It has been some years since you published the tutorial and I am wondering if you should augment the information due to the advance in tools.
Thank you!! Well it has been some years but the fundamentals so remain. I don’t know if I have changed radically from this approach though. 😊